After downloading the updated Sonnet from your Sonnet account, uninstall the existing Sonnet and install the newly downloaded Sonnet.
For instructions on how to install the theme via WordPress
How To Download The Sonnet Files
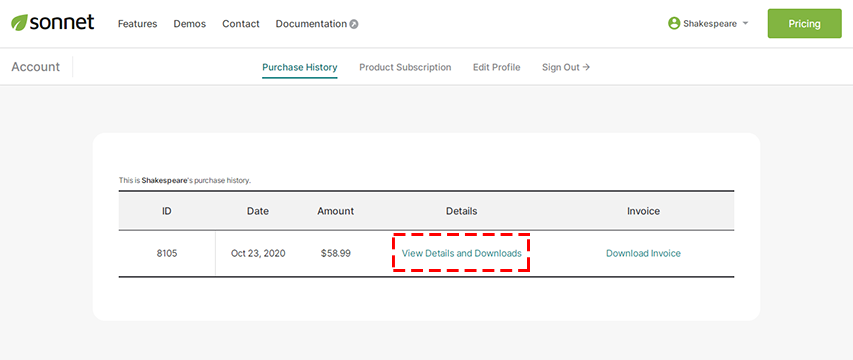
- Login to your Sonnet account and navigate to your ‘Purchase History’ tab and then locate ‘View Details and Downloads’. (Fig. 1)
- Click the ‘View Details and Downloads’ and you can download the Sonnet which is you purchased. (Fig. 2)

You’ve downloaded the Sonnet which is the full Sonnet package, you have to unzip the master Sonnet.zip file, therein you will see a secondary sonnet.zip file, this is the one you select to install.
How to install the newly downloaded sonnet
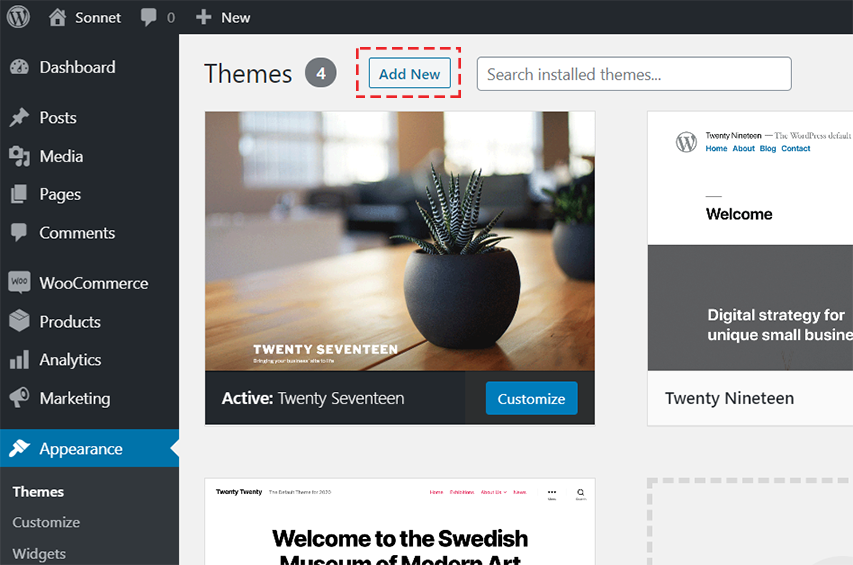
The first thing you need to do when you want to install a new WordPress theme is to login to your site admin page. Once there, go to . Here, you will see all the themes you have currently installed in your application.
Step 1 – Activate another theme to replace the existing Sonnet theme.
Step 2 – Remove the existing sonnet theme.
Step 3 – Install the newly downloaded sonnet theme. (Fig. 3)
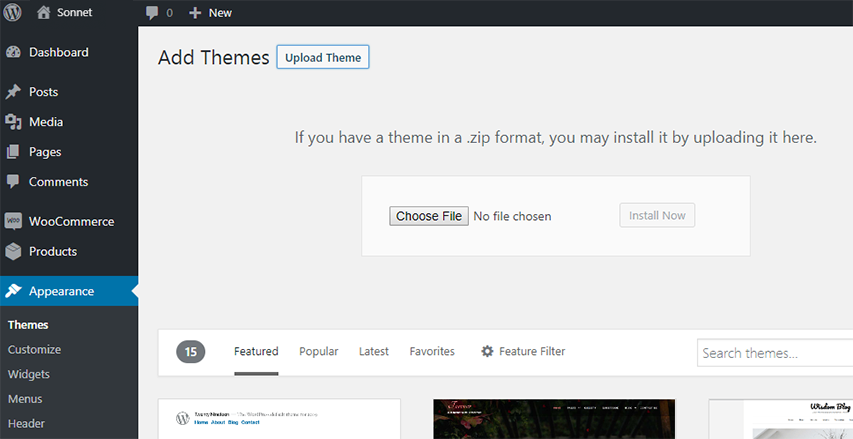
Step 4 – Click Upload Theme button and find the sonnet.zip file you’ve just downloaded. This is the one you select to install. (Fig. 4)
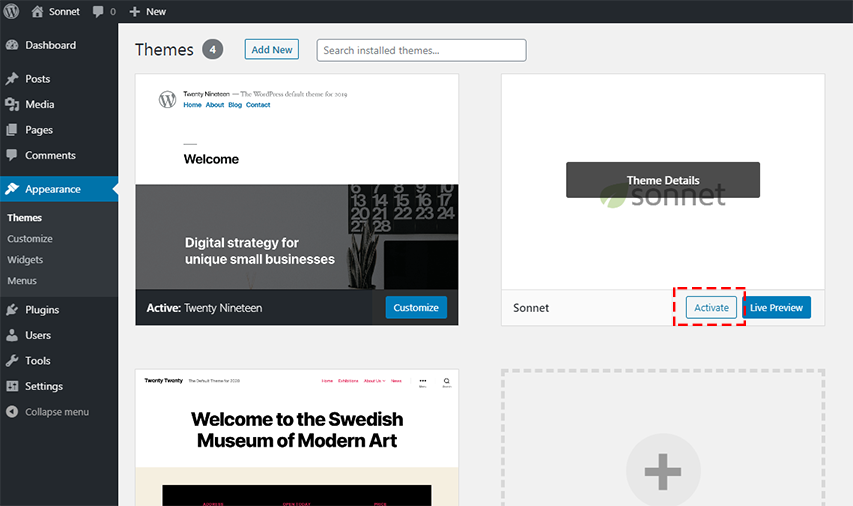
Step 5 – Once the file has uploaded, to activate Sonnet go to and click the Activate button. (Fig. 5)
* Theme options for the newly installed theme are the same as the existing theme options.